
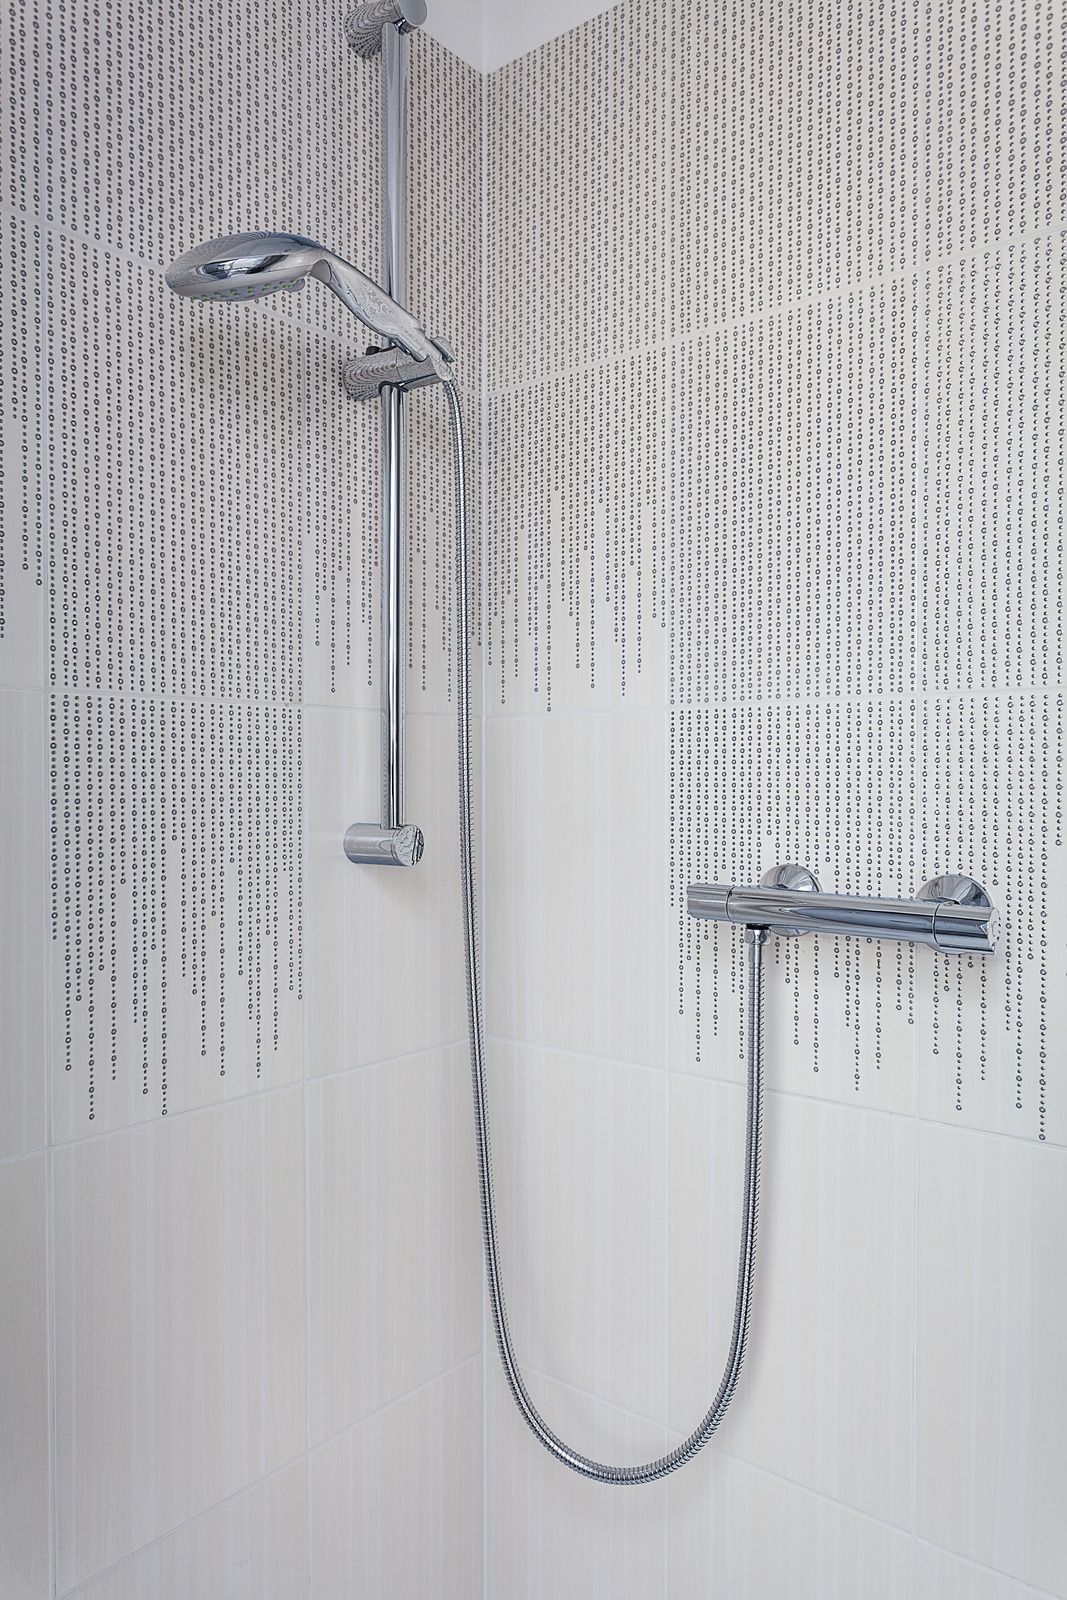
Compare groutless shower panels & traditional tile maintenance. Choose the best for your bathroom renovation with AMC Kitchen & Bath's expertise.
Backsplash Installation Around Outlets, Windows, and Range Hoods: What Skilled Installers Charge For
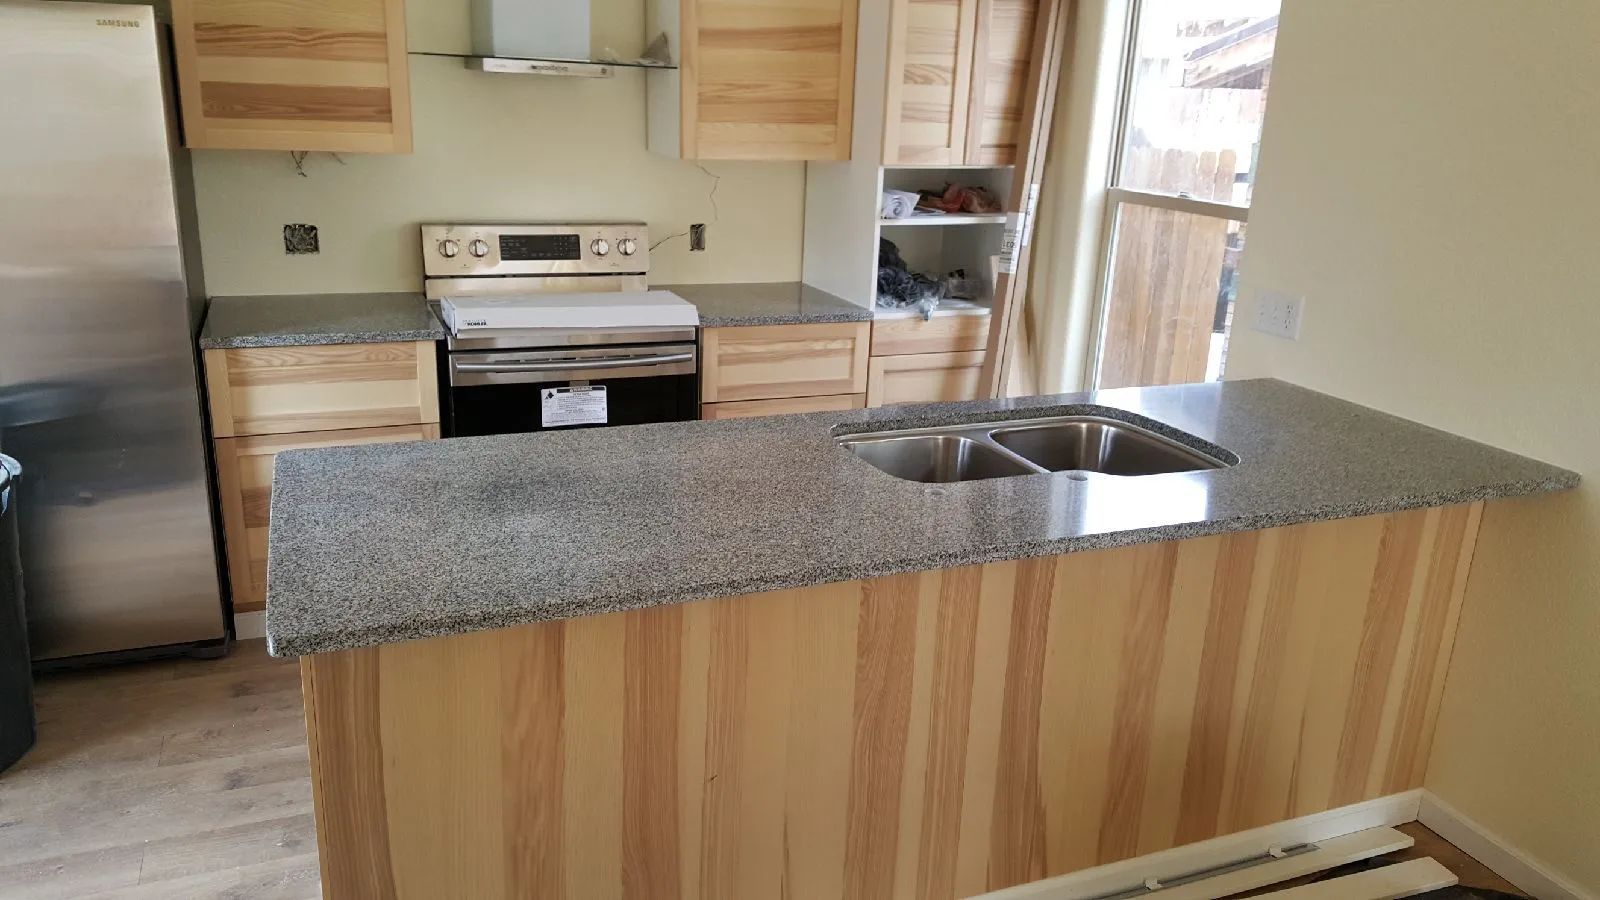
Backsplash installation is often perceived as a straightforward finishing touch, but the reality is far more complex when working around outlets, windows, and range hoods. These areas introduce precision challenges that demand advanced skills, specialized tools, and careful planning.
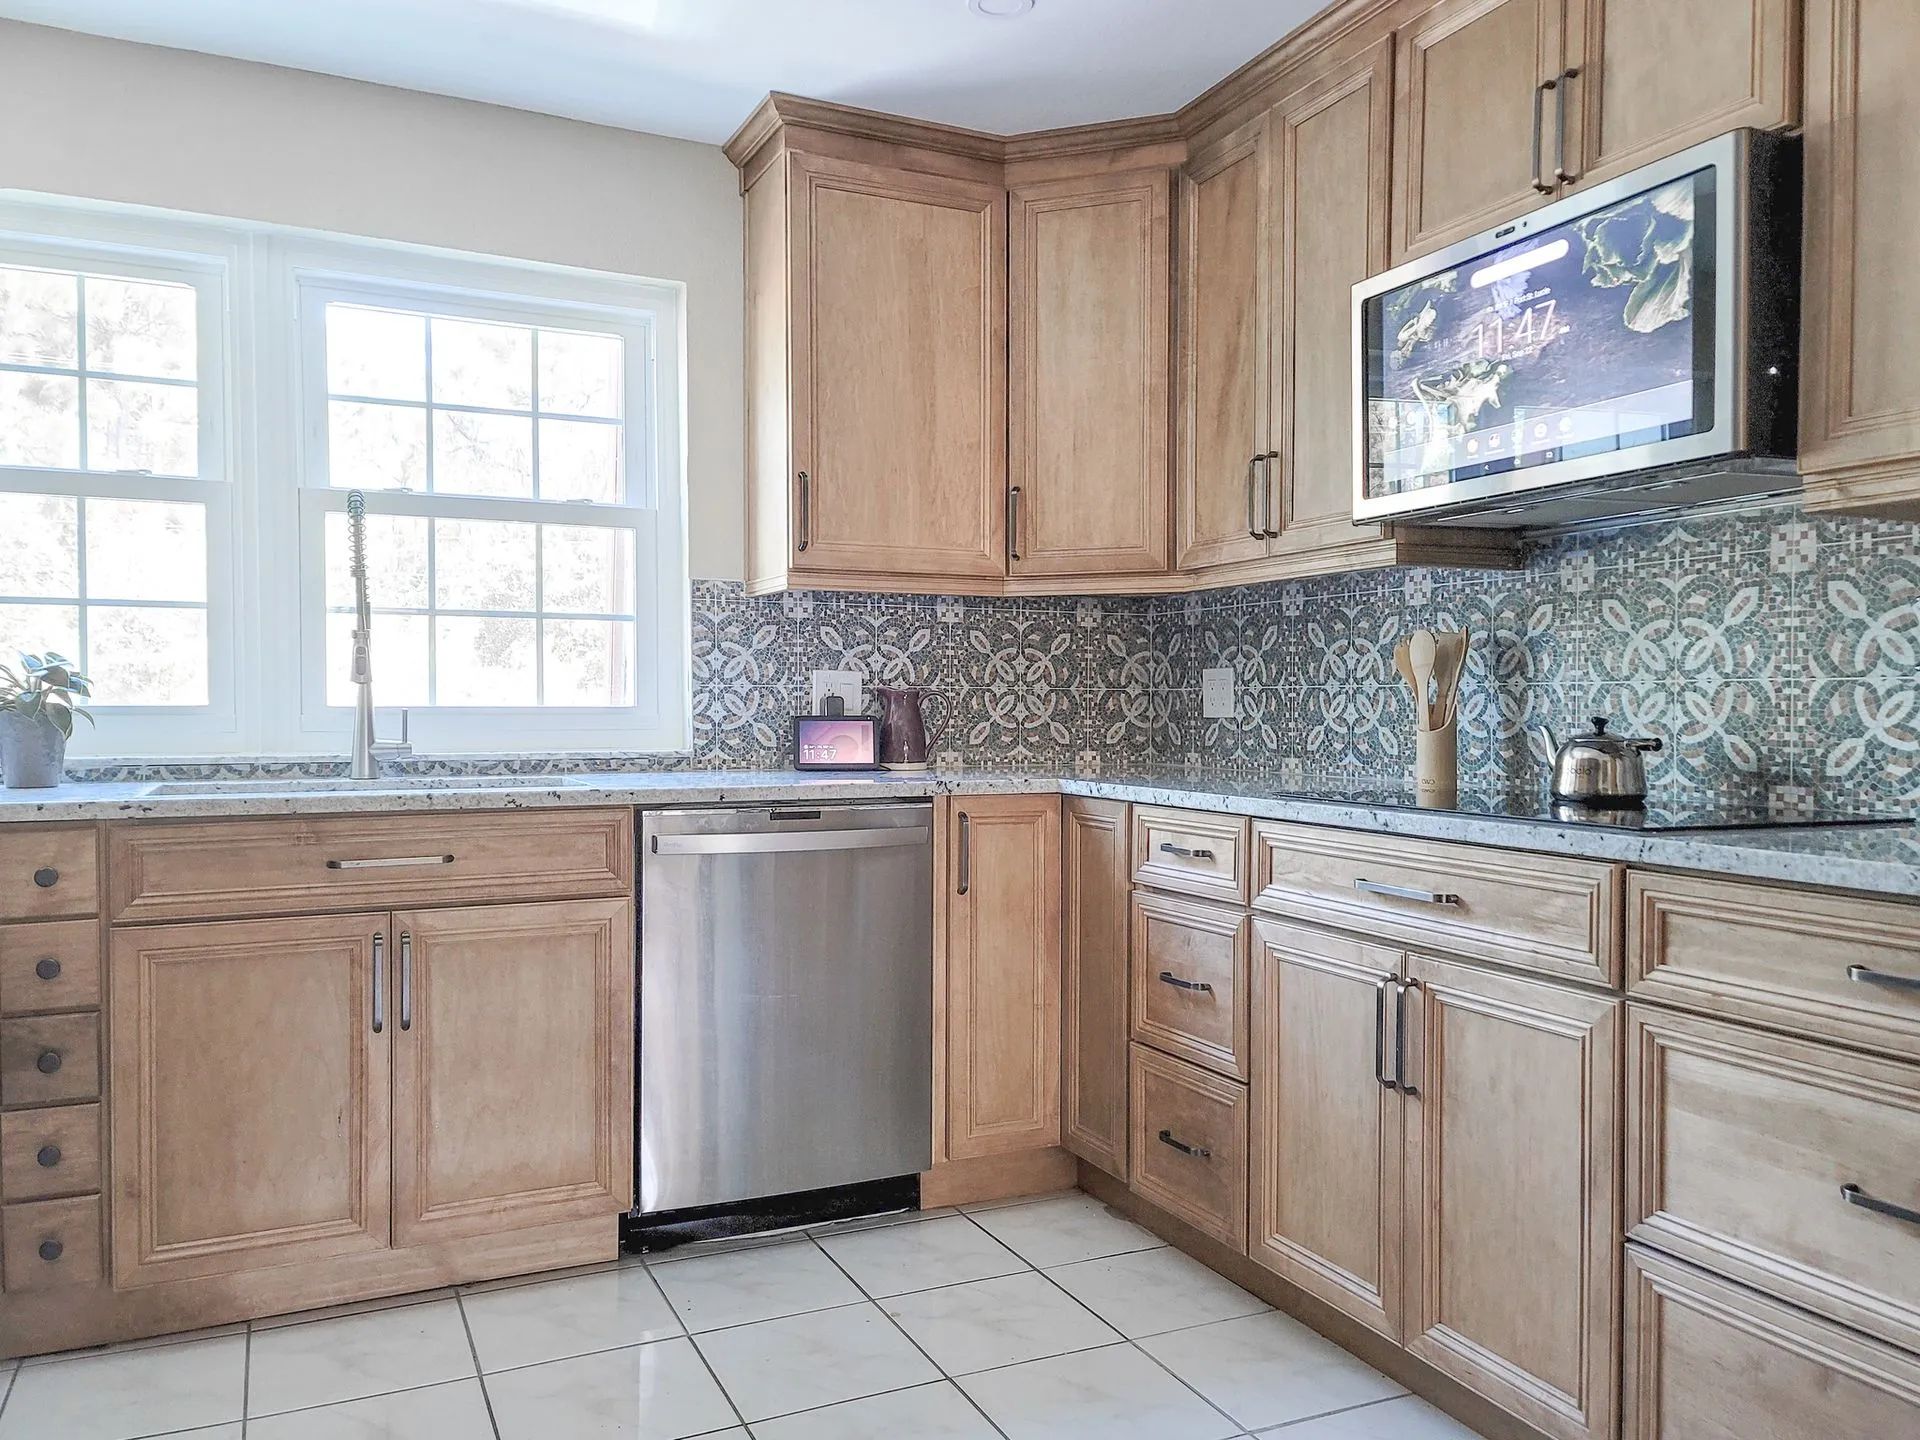
Choosing the right backsplash tile is more than a design decision—it directly impacts how well a kitchen performs under daily heat, moisture, and grease exposure. In modern kitchens where cooking is frequent and often intensive, backsplash materials must balance aesthetics with durability.
Compare groutless shower panels & traditional tile maintenance. Choose the best for your bathroom renovation with AMC Kitchen & Bath's expertise.
Backsplash Installation Around Outlets, Windows, and Range Hoods: What Skilled Installers Charge For
Backsplash installation is often perceived as a straightforward finishing touch, but the reality is far more complex when working around outlets, windows, and range hoods. These areas introduce precision challenges that demand advanced skills, specialized tools, and careful planning.
Choosing the right backsplash tile is more than a design decision—it directly impacts how well a kitchen performs under daily heat, moisture, and grease exposure. In modern kitchens where cooking is frequent and often intensive, backsplash materials must balance aesthetics with durability.